How to access VMs in the SIC cloud environment
Virtual Machines (VMs) hosted in the department’s cloud computing infrastructure in the Data Center can be accessed through the vSphere Client, Remote Desktop (Windows VMs), or SSH (Linux VMs). Depending on where you connect from, you may first need to connect to a VPN. How do I access my VM? in the Virtual Machine FAQ explains when one is needed. VMs are subject to the rules described under What am I allowed to use a VM for? and the Acceptable Use Guidelines.
The addresses and account details for your VM are included in the VM instructions you receive from your professor or the department.
vSphere Client
The vSphere Client lets you manage your VM in a web browser: open its graphical console, power it on or off, and take or restore snapshots.
-
Open a web browser and go to the vSphere Client address given in your VM instructions. If your browser warns about the site’s certificate, check that the address matches the one in your instructions before you continue.
-
Click “Launch vSphere Client” if the start page asks you to choose a client.
-
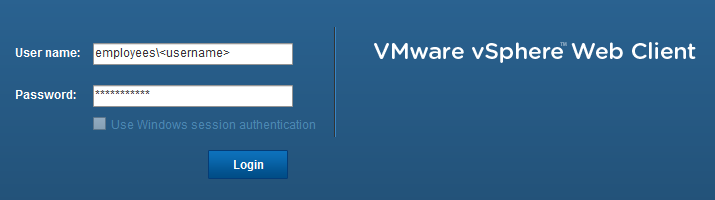
Log in as “students\network ID” with your portal password.
-
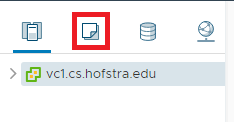
In the left navigation sidebar, select the “VMs and Templates” view.
-
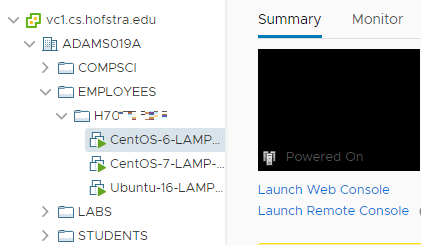
Click on the triangles to expand the folders until you see your virtual machine(s).
-
From here you have two options to access your VM:
- Launch Remote Console (Recommended) – This launches the VMware Remote Console (VMRC), but it must be installed first. Download and install the VMRC if you have not already done so. On a Mac, VMRC is also available from the Mac App Store.
- Launch Web Console – access your VM in another browser tab.
Remote Desktop (Windows)
Remote Desktop can be used to access Windows virtual machines. It provides better performance and additional features such as audio and remote printing. Windows includes Remote Desktop Connection; Microsoft’s newer Windows App also works.
-
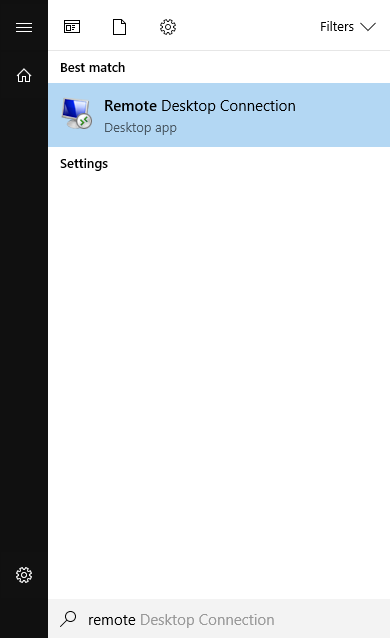
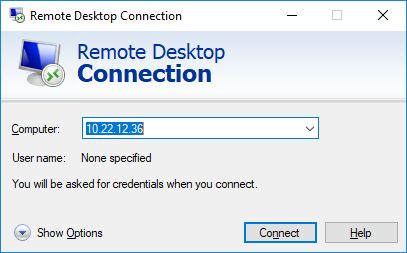
Launch “Remote Desktop Connection” from the Start menu.
-
Enter the name or IP address of the virtual machine you want to connect to, as given in your VM instructions or shown in the vSphere Client.
-
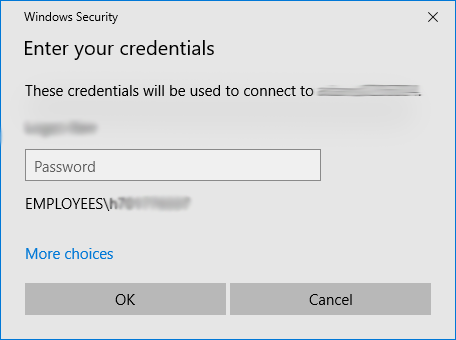
Log in to the VM with the credentials in your VM instructions. To sign in as a different user, click more choices.
Remote Desktop (Mac)
-
Install Windows App (formerly Microsoft Remote Desktop) from the App Store. More details are available here.

-
Navigate to the Applications folder and open the app.
-
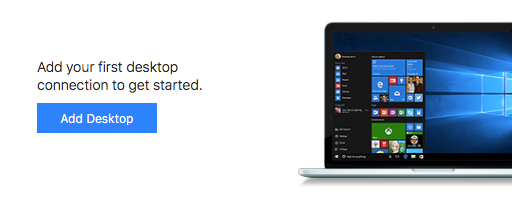
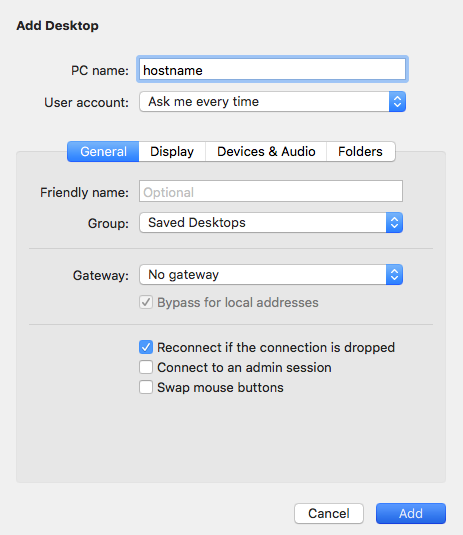
Click the “Add Desktop” button to begin adding the remote desktop connection.
-
Enter the name or IP address of your VM in the “PC name” field, as given in your VM instructions. Then click “Add”.
-
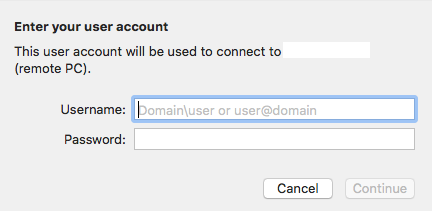
Click on the connection you added to start the remote desktop connection. Enter the credentials from your VM instructions and click “Continue”.
-
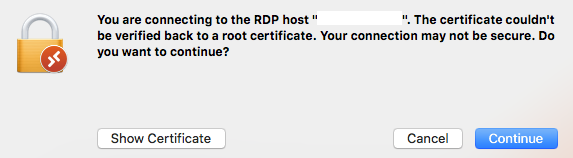
If you see a “certificate couldn’t be verified” message, click continue.
-
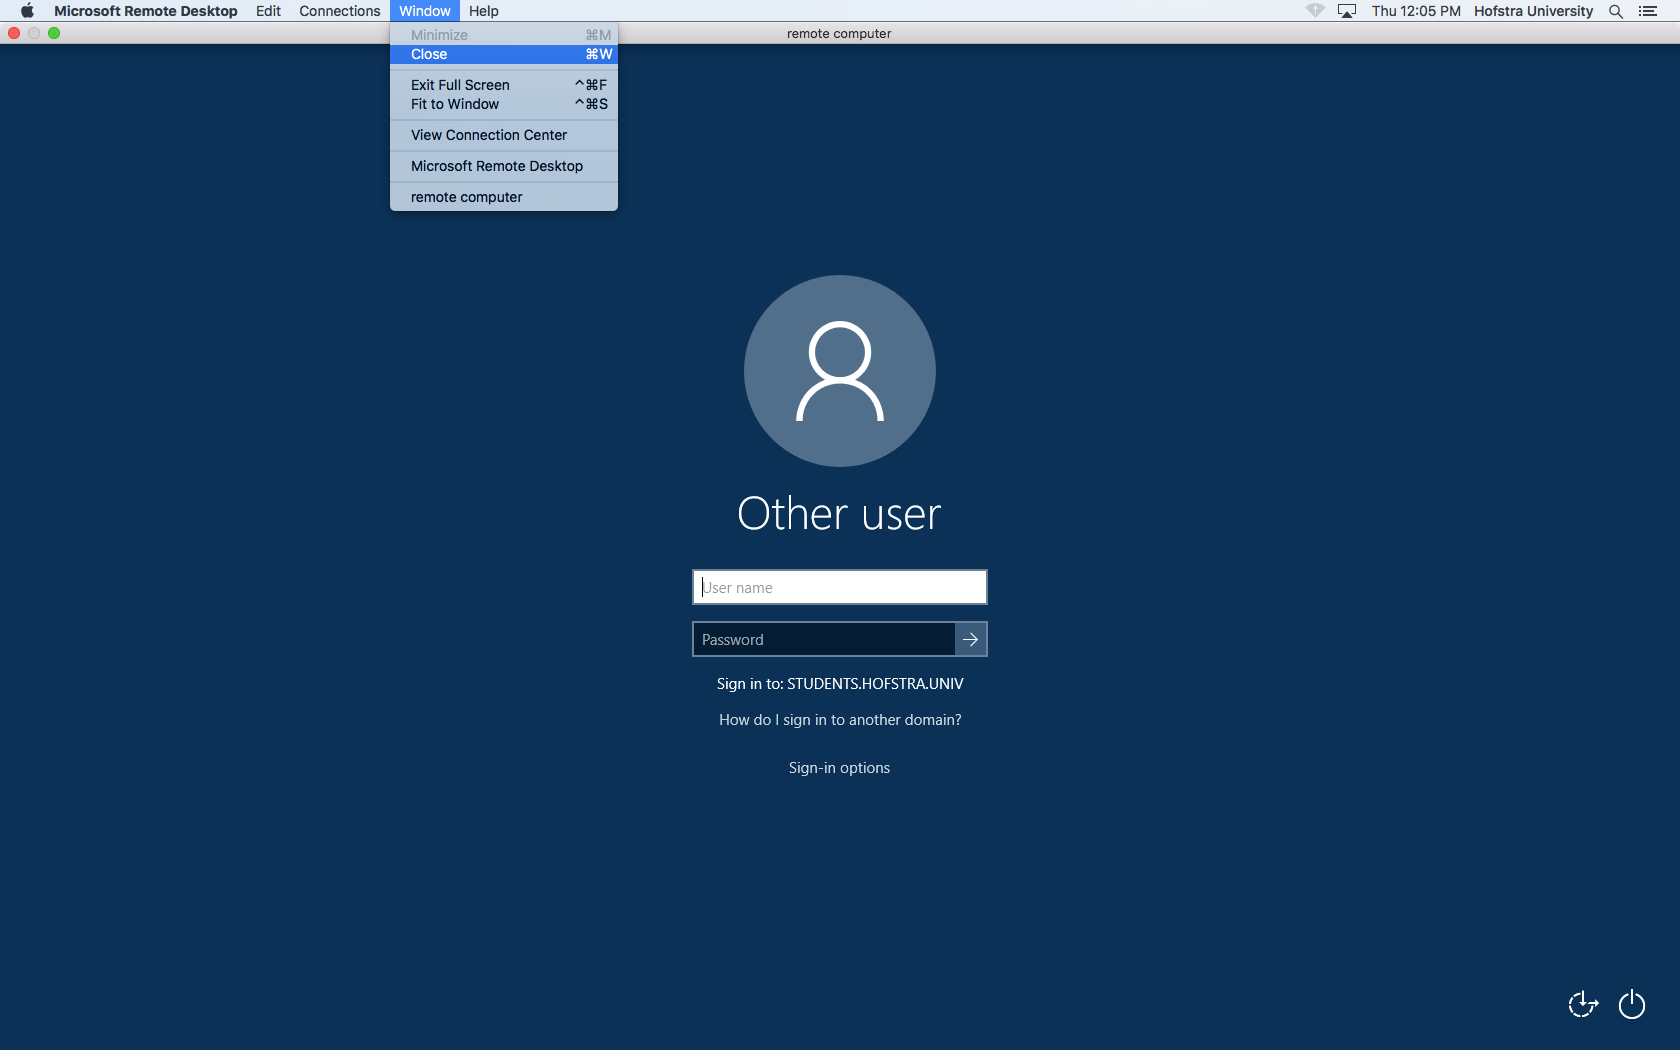
You should now have established a remote desktop. When you want to close the connection click “Window” -> “Close” or press command + W.
SSH access
Linux VMs can be accessed on the command line through SSH as follows:
ssh user@ip-address
…where ip-address is your VM’s IP address and user is the username of the account on your VM.