Gitlab Tutorial
Getting to GitLab
Go to https://git.cs.hofstra.edu/ and sign in using your Hofstra portal credentials.
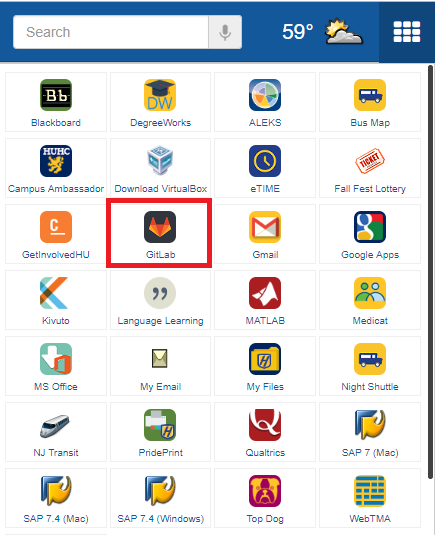
Alternatively, you can find GitLab in your list of apps in your portal.
Creating your first remote repository
On GitLab let’s create a new repository.
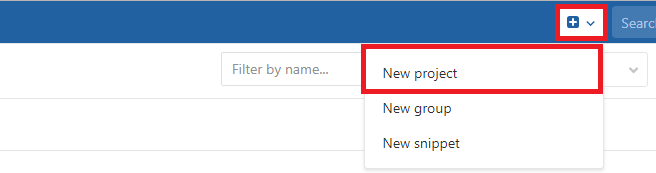
Click on the plus button on the top bar and select “New project” from the dropdown menu.
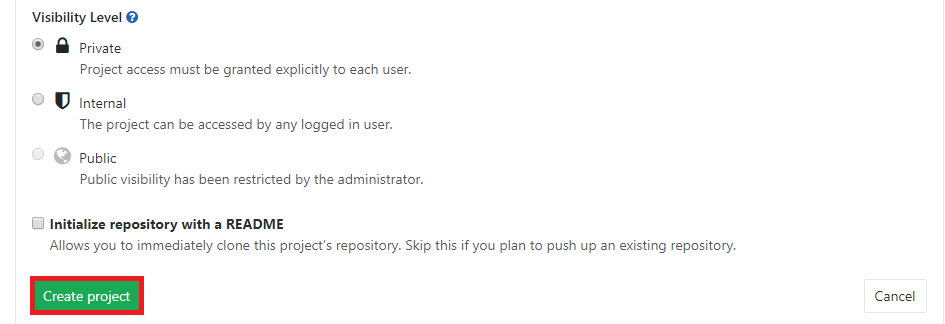
Enter a name. It should not have spaces or special characters, as it will be part of the URL of your new repo. You can leave the rest of the options at their defaults.
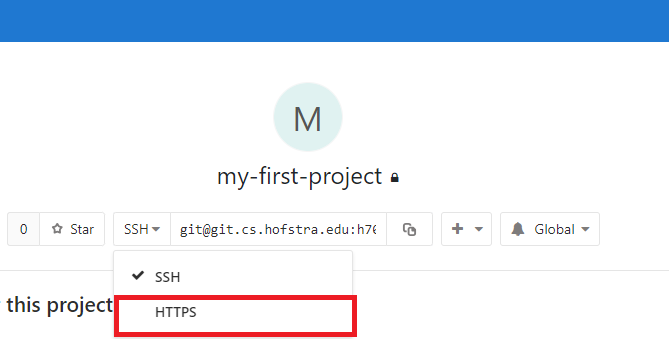
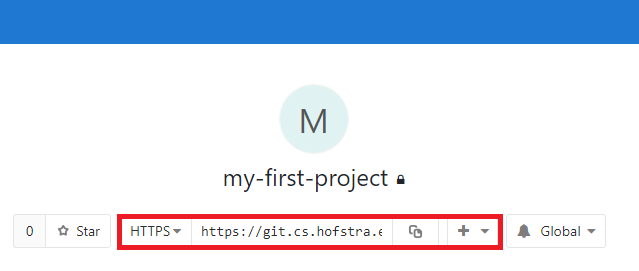
You will be taken to the main page of your repository, that doesn’t have any files yet.
Select the HTTPS link and copy it.
Open up your terminal and enter:
git clone <HTTPS link>
Enter the directory using the cd command.
Making changes
After making changes to files in your local repo, enter:
git add .
All changed files will now be tracked in the next commit
Alternatively, you can track single files at a time:
git add <file name goes here>
Files can also be removed from tracking:
git rm <file name goes here>
Committing changes
View the status of your files:
git status
Commit changes to your local repo:
git commit
Or add a message to your commit:
git commit -m "<Message goes here>"
Pushing changes
Push your local commits to the remote repo:
git push
If prompted, input your Hofstra portal credentials.
Pulling changes:
Pull commits from remote repo into your local repo:
git pull
Quick Reference Guide:
More information
For more interactve guides see the Gitlab University Curriculum
For more in-depth guides see the Gitlab help docs