Introduction to Jira Software
Introduction
JIRA is a web-based project management system and issue tracking system that can be customized to support any type of workflow or business process. Jira Software is an edition of JIRA that incorporates features of the Scrum framework, an agile methodology for software development teams.
At the core of the agile methodology is the grouping of tasks into short development cycles called sprints. Sprints typically last 2 to 4 weeks each. At the end of each sprint is a review meeting to ensure that the team has met its goals followed by a retrospective meeting to reflect and find ways to improve moving forward. Any remaining issues are placed on the backlog where they may be assigned to future sprints.
A scrum project starts by collecting the functional requirements and usage senarios (aka. user stories), defining the project’s scope, and planning the sprints. The team meets to prioritize the stories and assign highest priority tasks to the first sprint.
Project Backlog
One of the key components of a scrum project in Jira Software is the backlog. The backlog is a list of defined sprints and outstanding issues not assigned to a sprint. In Jira, “issue” is just a general term for a user story, task, or bug. These components of the project can have zero or more sub-tasks, which are smaller tasks that are required for the overall issue to be completed. In terms of functionality for Jira Software, user stories, tasks, and bugs are treated the same. You can create them in the backlog of the project and move them to a sprint as you see fit.
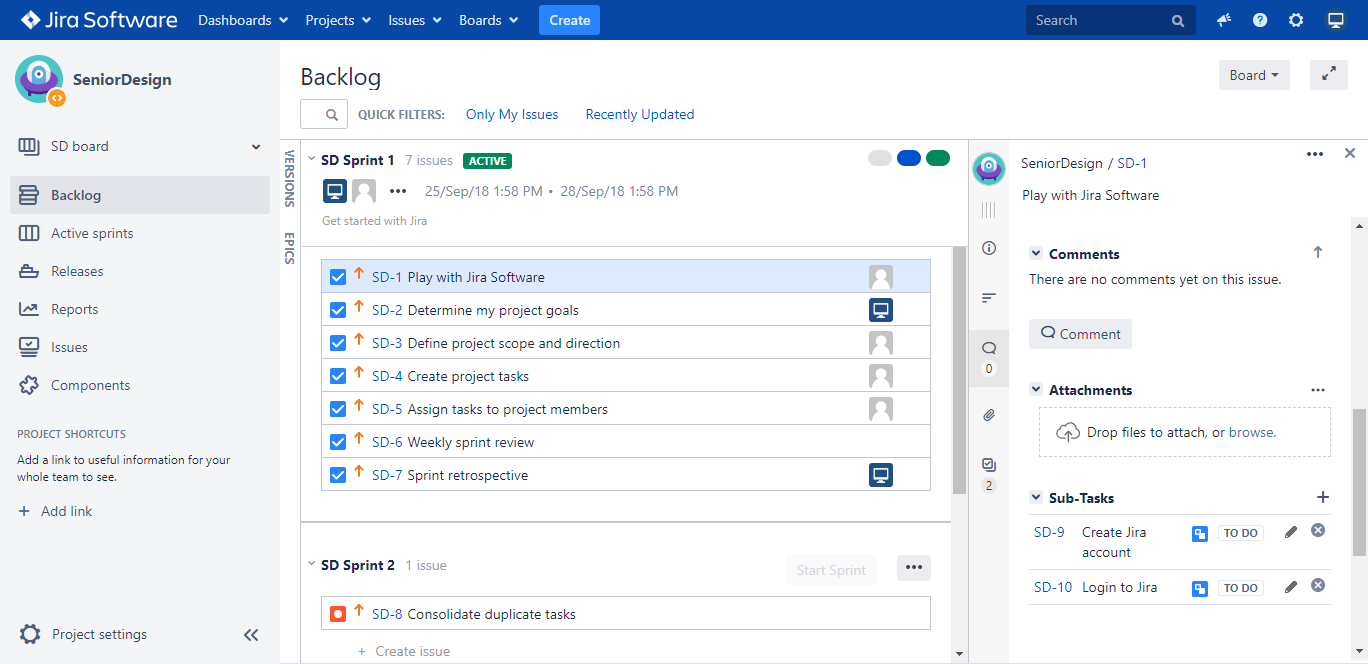
Creating Issues in Jira Software
As mentioned previously, an issue is a general term used to refer to user stories, tasks, or bugs in Jira Software. They can be created by navigating to the Backlog of a project or by using the Create button on the main navigation bar of the site.
Creating Issues Through the Backlog
-
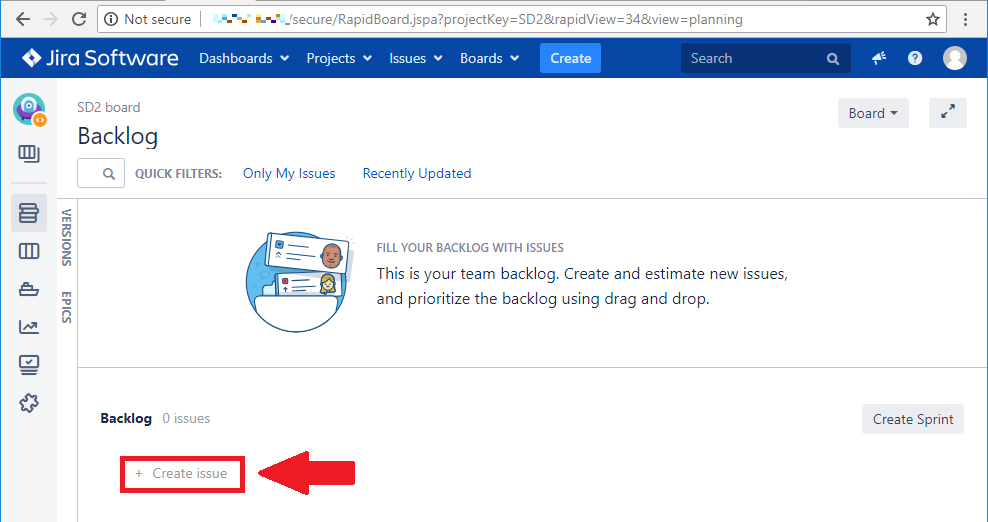
Start by clicking the Create Issue button on the backlog of the project
-
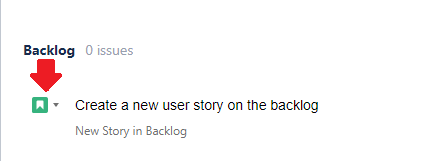
Type in the title of the issue and click the small icon to the left to change the issue type, if desired.
-
Press Enter on your keyboard to submit the new issue.
Creating Issues From the Create Button
-
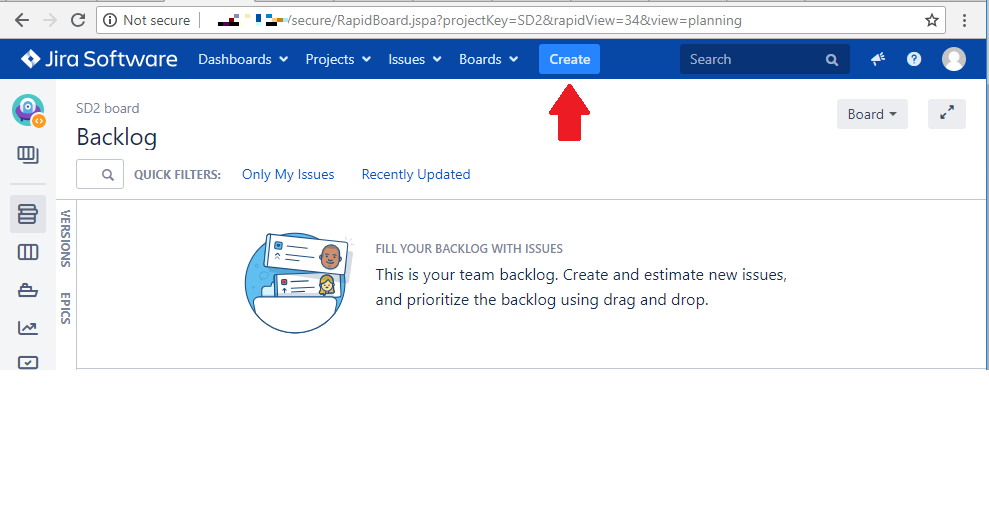
Start by clicking the Create button on the main navigation bar.
-
Enter the issue details, making sure to include the project the issue belongs to, the type of the issue, and the summary (title) of the issue.
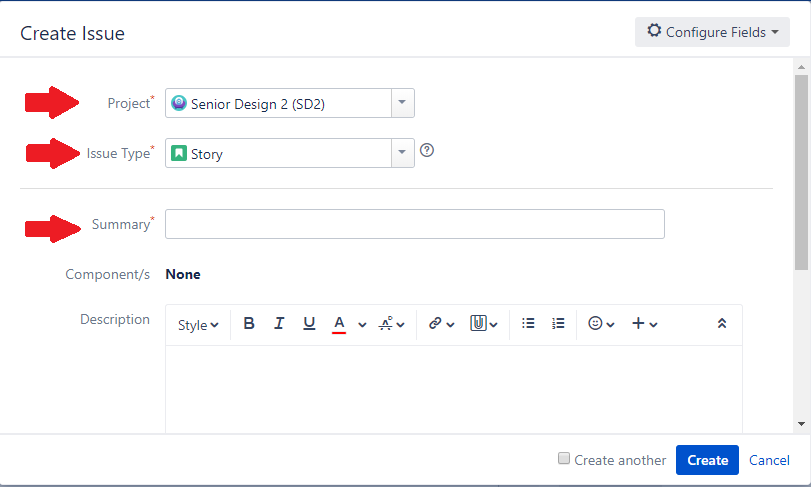
-
When finished entering details, click the Create button on the bottom right of the window.
