How to set up Remote Desktop on Mac
Microsoft Remote Desktop is used to access remote Windows computers, including physical machines, virtual machines in cloud environments (such as in the Big Data Lab and Cybersecurity Center), and the War Room Virtual Desktop.
Installing Microsoft Remote Desktop
-
Open the App Store and search for “Microsoft Remote Desktop”. Select the result with that name. It should look like below:

-
Click “Get” to install the application.

Setting up the connection
-
After the installation is complete click “Open” or navigate to the Applications folder and double click the Microsoft Remote Desktop app.
-
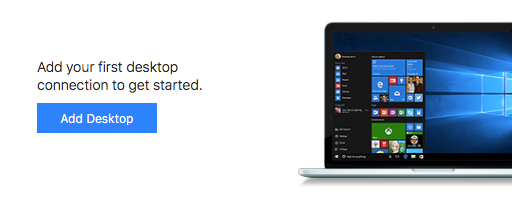
Click the “Add Desktop” button to begin adding the remote desktop connection.
-
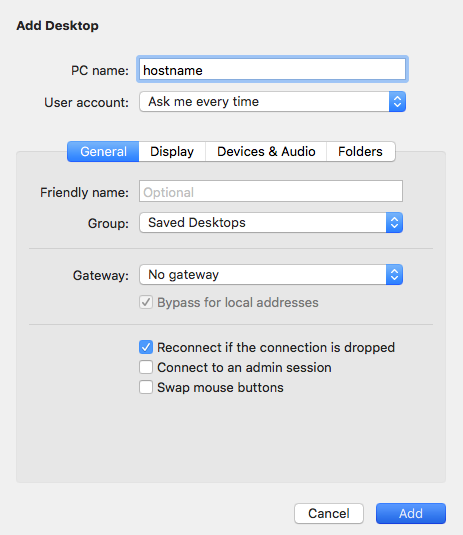
Enter the IP address or DNS name of the remote computer in the “PC name” field. Then click “Add”. This may be provided to you by your professor or systems administrator. If you have physical access to the remote computer, you can find the IP address on the computer itself.
-
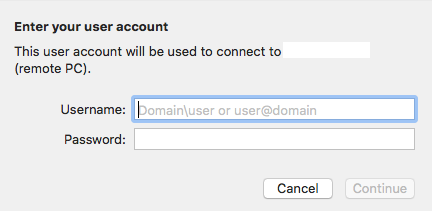
Click on the connection you added to start the remote desktop connection. A screen will appear to enter the credentials for this computer. These credentials will be provided by your professor or the system administrator. Enter the credentials and click “Continue”.
-
If you see a “certificate couldn’t be verified” message, click continue.

-
You should now have established a remote desktop. When you want to close the connection click “Window” -> “Close” or press
 + W.
+ W.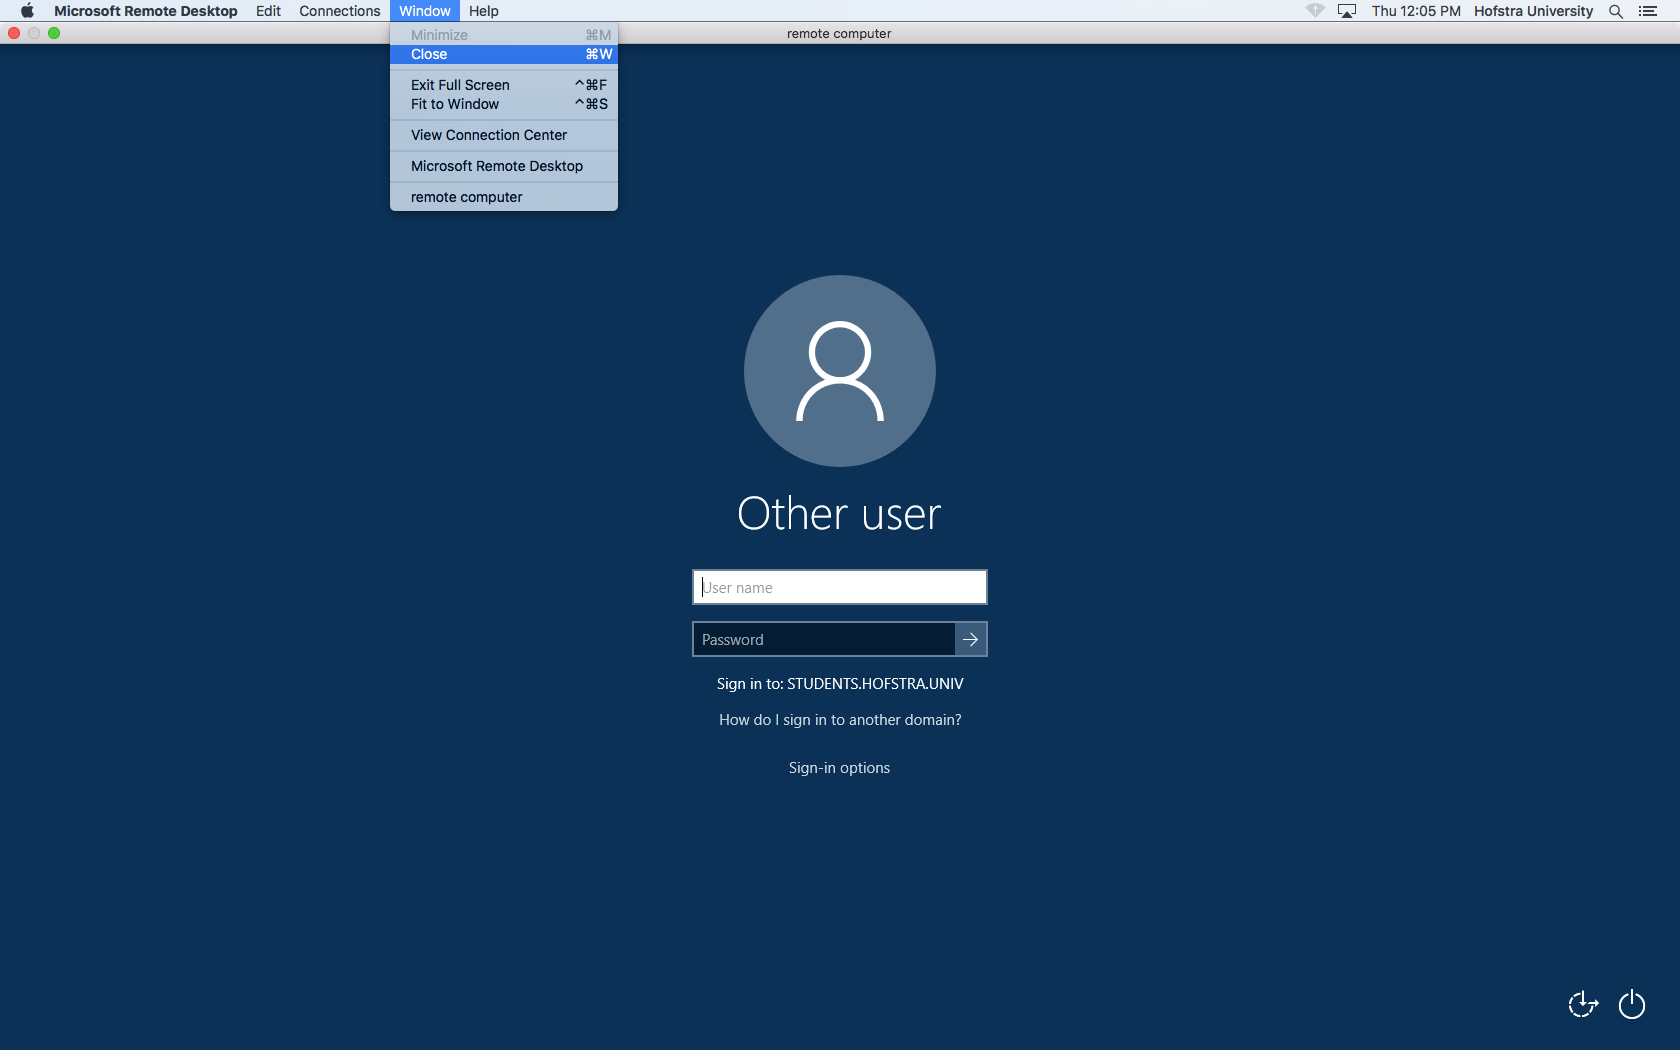
Saving the login info
You can save the user account credentials to avoid retyping it each time the connection is started.
-
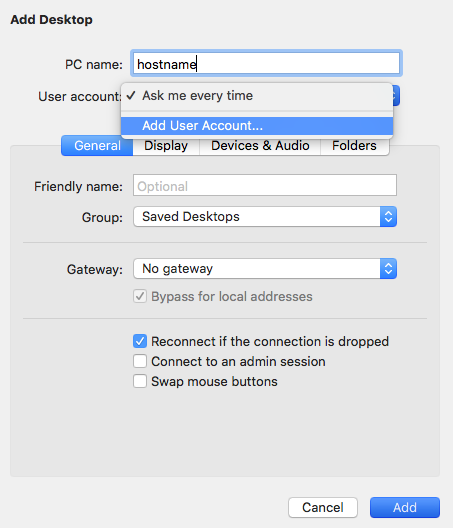
Right-click (or hold control + click) the connection in the Microsoft Remote Desktop app and click “Edit”. Click the “User account” field and select “Add User Account” from the dropdown.
-
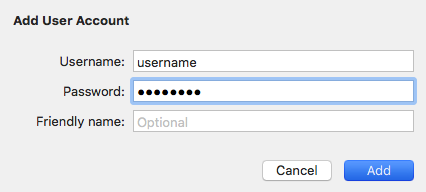
Enter the user credentials and click “Add”.
-
Confirm the user account is selected in the “User account” field.