How to install Unity
Introduction
Unity is a cross-platform game engine for creating games in both 2D and 3D. Unity supports building games for many platforms such as iOS, Android, Windows, PlayStation, Oculus Rift, and many more.
This guide shows you how to install Unity Personal on Windows; however, installing Unity on macOS follows a very similar procedure.
Installing Unity
-
Go to Unity’s Download Page and click “Download Installer for Windows”. A
UnityDownloadAssistant-x.x.exefile should be downloaded to your “Downloads” folder (where x.x is the current Unity version).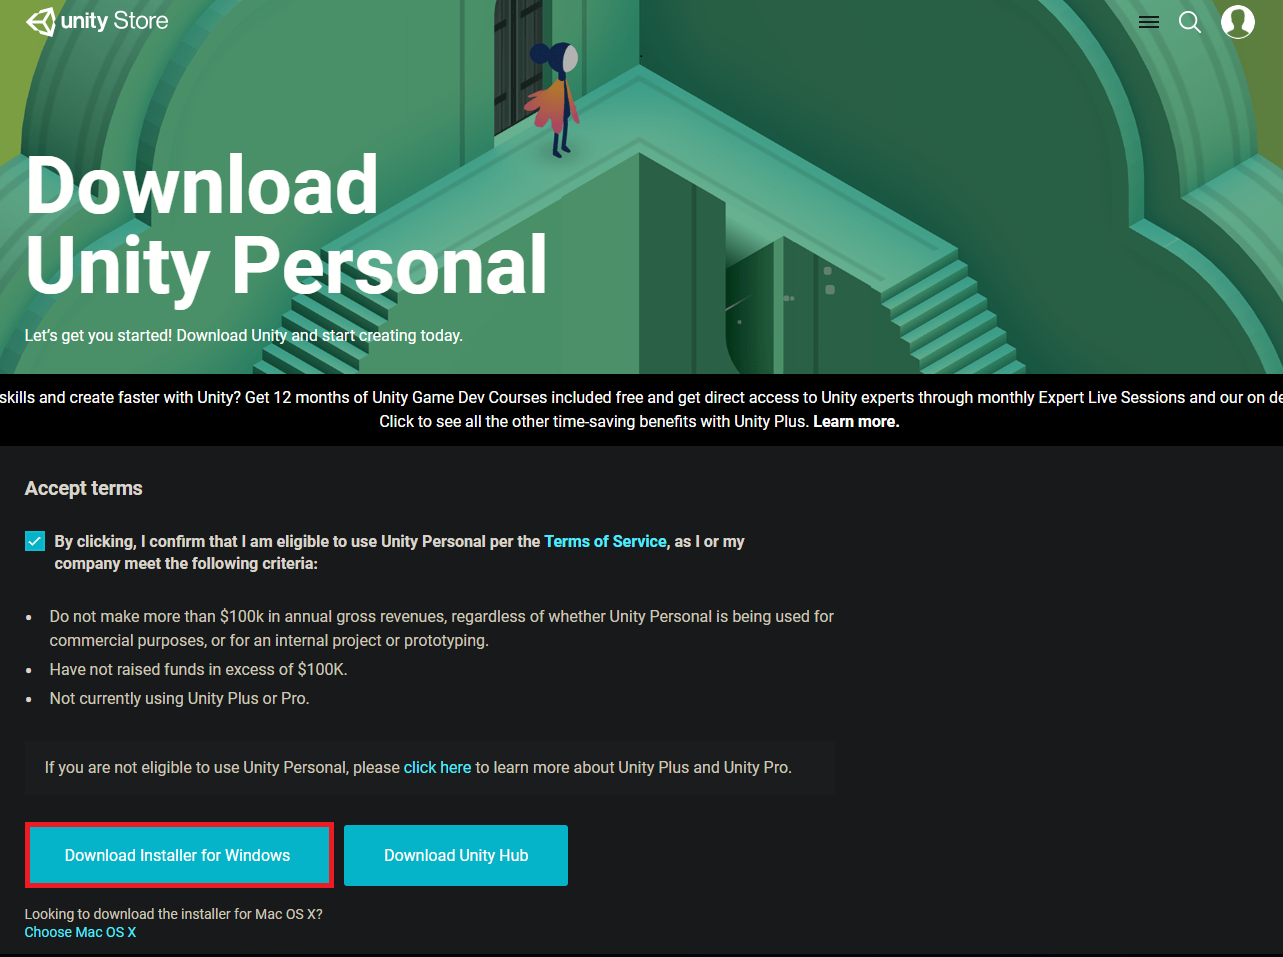
-
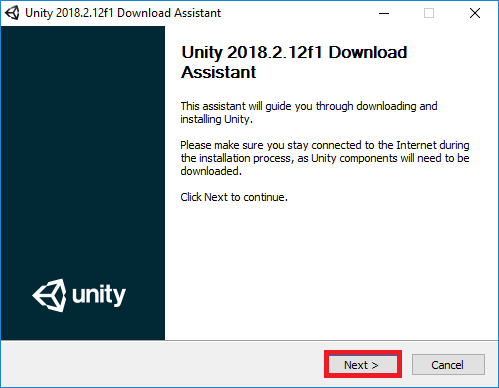
Open the downloaded installer. You will see a screen like this:
-
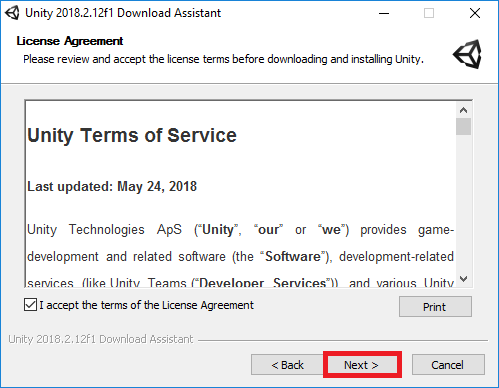
Accept the license and terms and click Next.
-
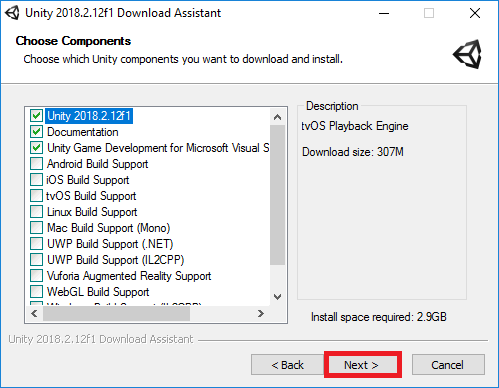
Select the components you would like to be installed with Unity and click “Next”. Note: If you ever want to change the components, you can re-run the installer.
-
You can change where you want Unity installed, or leave the default option and click “Next”.
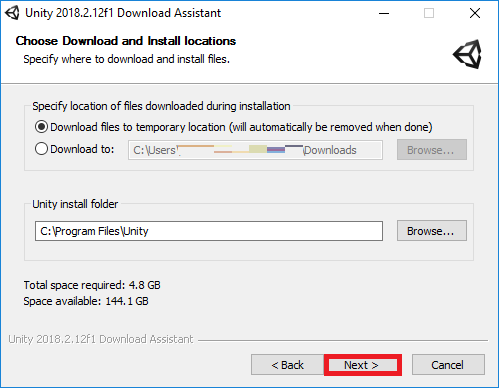
-
Depending on the components you selected, you may see additional prompts before installing. Follow the prompts and click “Install”. Installing Unity may take some time. After the installation is finished, Unity will be installed on your computer.
Creating a Unity Account
-
Unity requires an account for use. Start by opening Unity which can be done through the Desktop or Start Menu shortcuts.
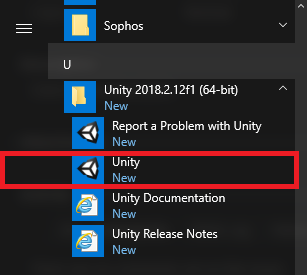
-
If you have a Unity account already, you can sign in here and skip the rest of this guide. If you do not have a Unity account, click “create one”.
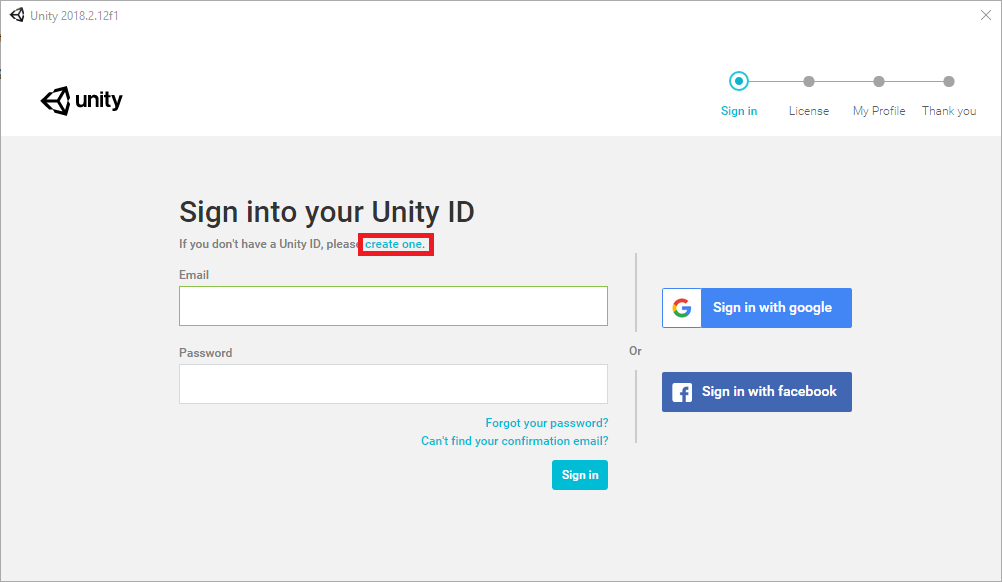
-
Fill in the forms to create your Unity account. Then click “Create a Unity ID”. Alternatively, you have the option of signing up with a Google or Facebook account.
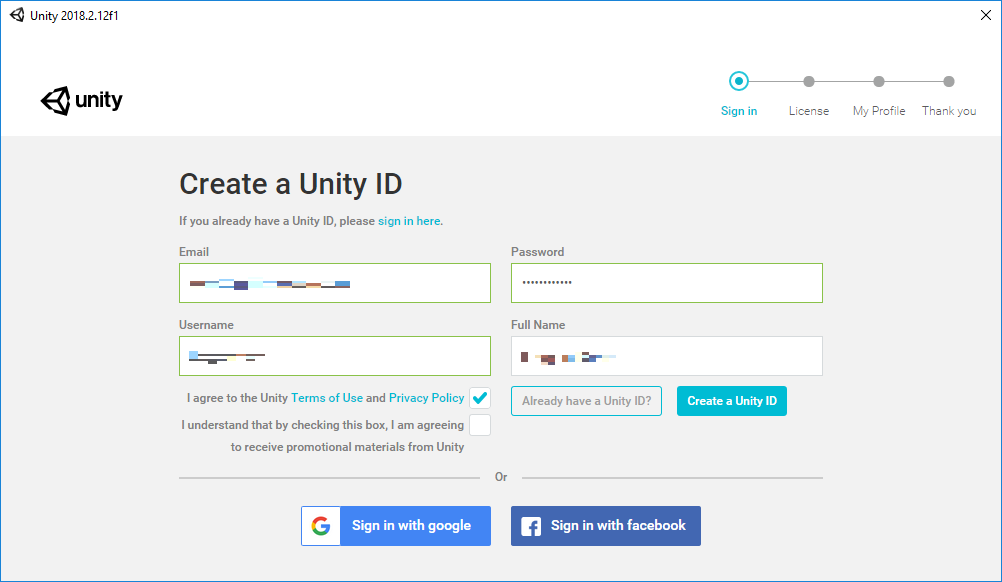
-
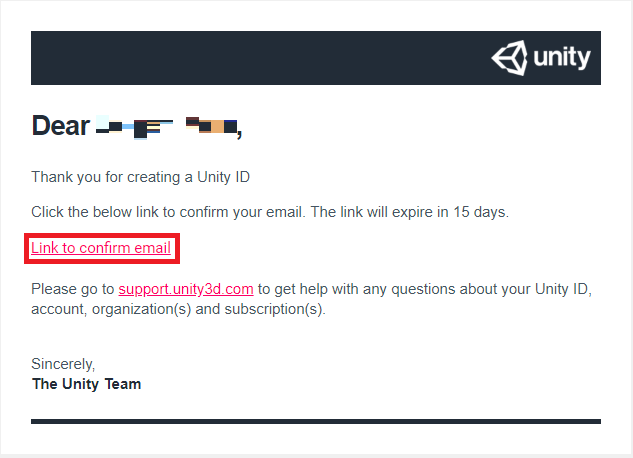
You will receive a confirmation email sent to the email used to signup for a Unity ID. Click “Link to confirm email” to confirm your email.
-
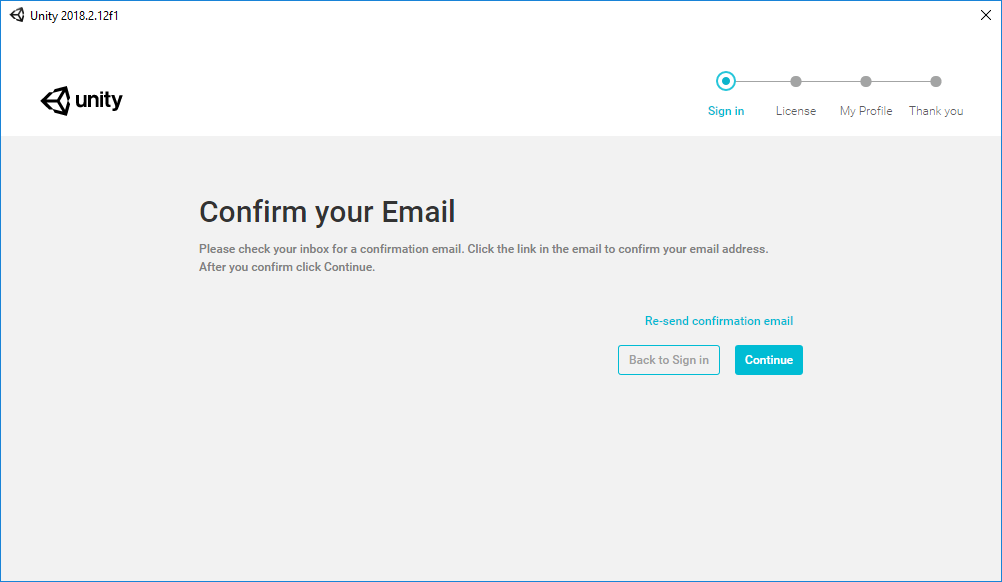
Go back to the Unity application and click “Continue” after confirming your email.
-
Select “Unity Personal” and click “Next”.
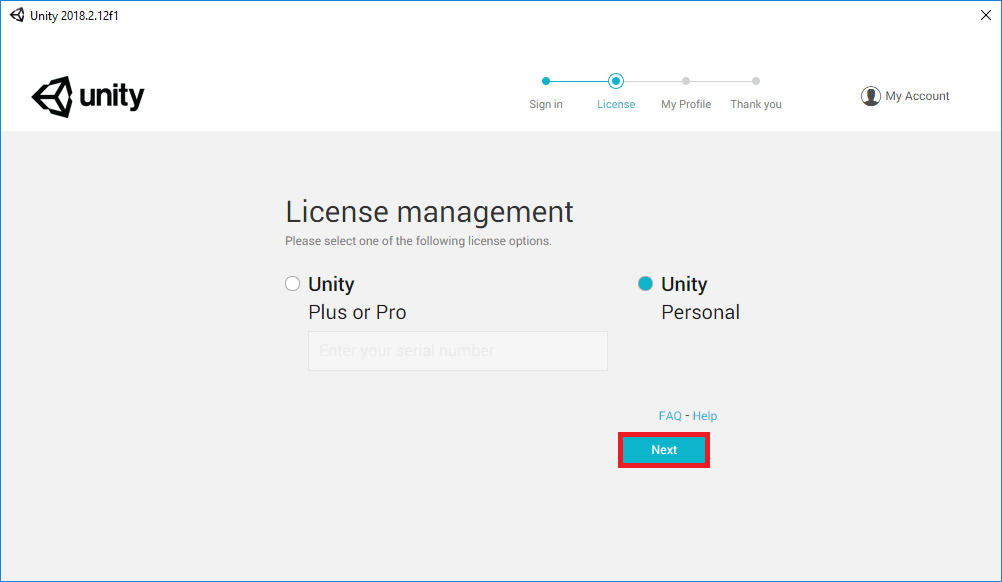
You are now setup to create games using Unity 3D Personal Edition.