Cyber Range OpenVPN Client Setup on Windows
- Download the OpenVPN client installer:
-
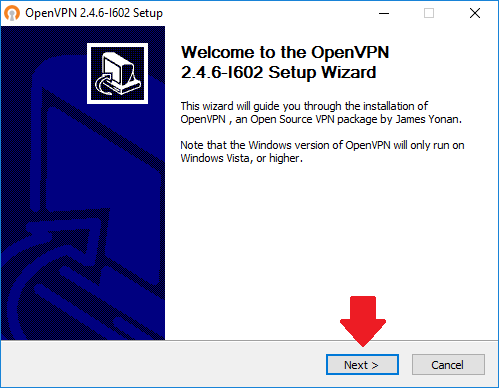
Launch the installer and follow the prompts as directed.
-
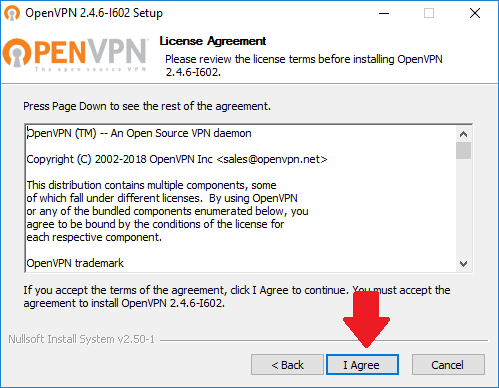
Click “I Agree” to continue.
-
Leave the default selection of components and click “Next”.

-
Accept the default installation path and click “Install”.

-
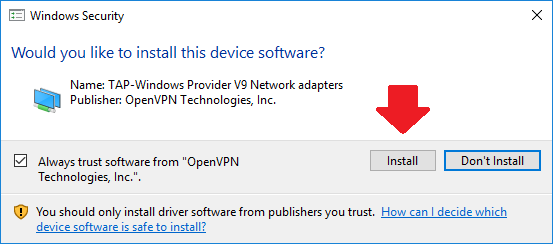
When prompted, click “Install” to allow the virtual network adapter to be setup.
-
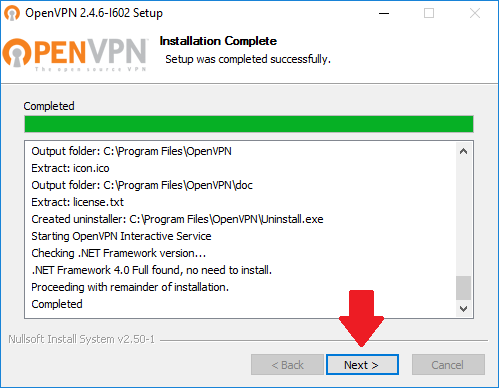
Wait for the installation to complete and click “Next”.
-
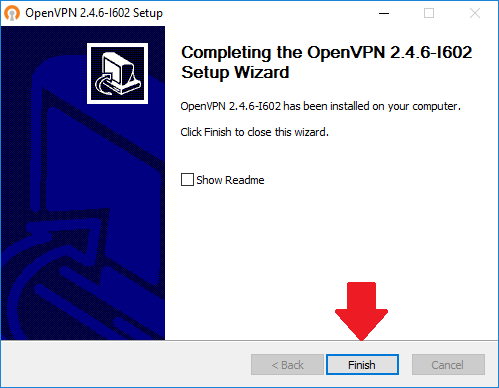
Click “Finish” to complete the wizard.
-
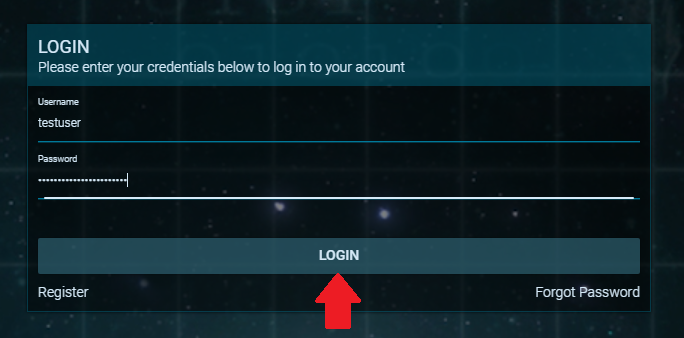
Before you can connect to the VPN, you must first download a client profile. Go to https://app.cr.cyber.hofstra.edu, enter your Cyber Range credentials and click “Login”. If you do not yet have a Cyber Range account, follow the Cyber Range User Registration guide to create one.
-
Click on your name or profile picture in the top left hand side of your dashboard menu.

-
Click the “Download Certificate” button.

-
Move the “.ovpn” file into the directory C:\Program Files\OpenVPN\config

-
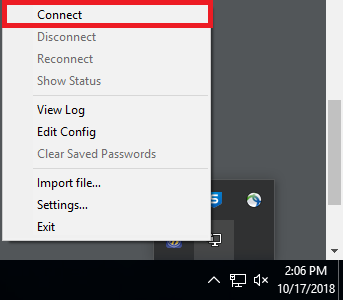
To connect connect, start OpenVPN GUI and right click the icon in the taskbar notification area. Click “Connect” from the menu.
-
A balloon will pop-up to notify you once the connection has been established.
