Cisco AnyConnect install for Mac
The Cisco AnyConnect Secure Mobility Client is used to connect to the War Room VPN, CSVPN2, and HUVPN. This guide shows you how to install the Cisco AnyConnect client on Mac OS.
-
Go to one of the following, depending on the VPN you want to connect to:
-
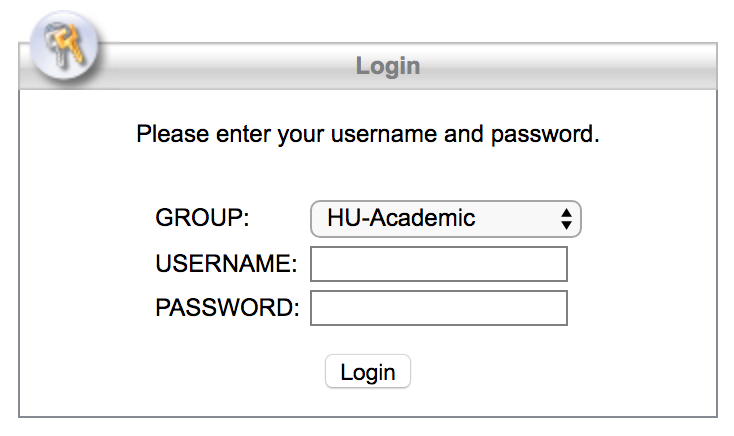
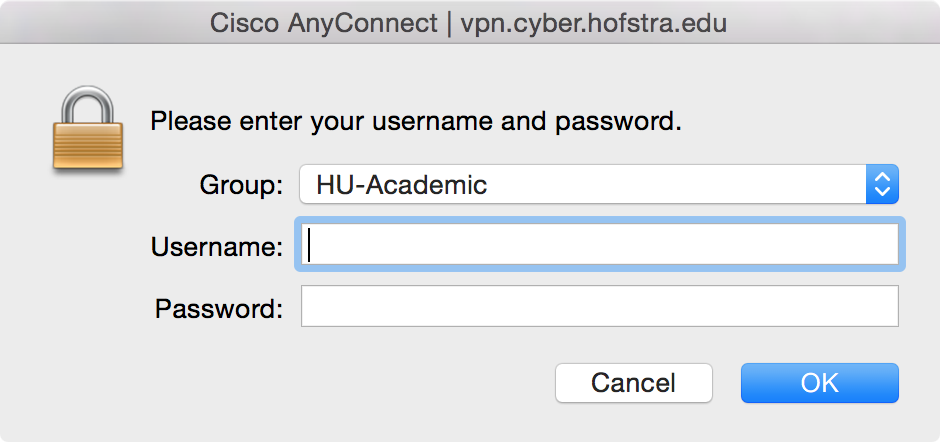
Select the appropiate group and enter your username and password. The username and password may vary depending on the particular VPN.
- War Room: Select HU-Academic and enter the username and password provided by your professor.
- CSVPN2: Enter your username as students\username or employees\username and supply your portal password, where username is your portal username.
- HUVPN (faculty only): Select HU-Faculty and enter employees\username and your portal password, where username is your portal username.
-
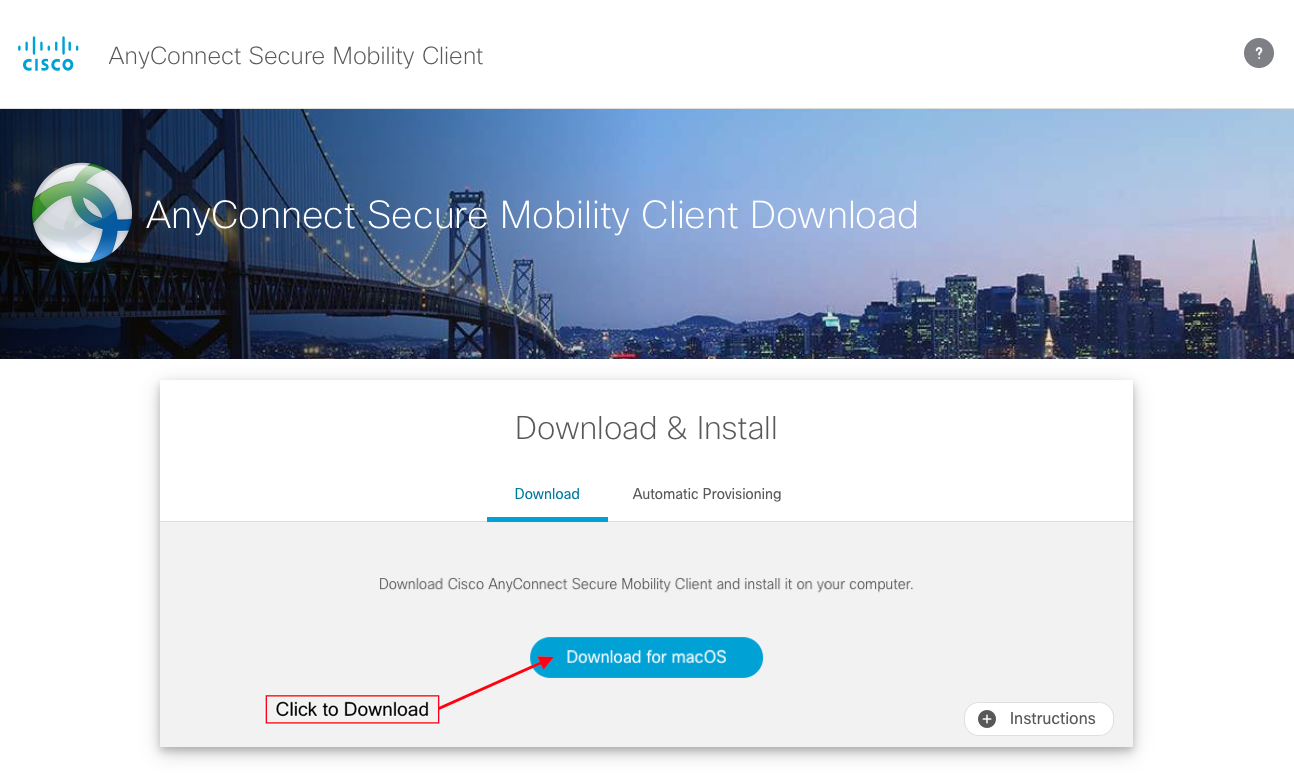
Click the Download button to save the installation package.
-
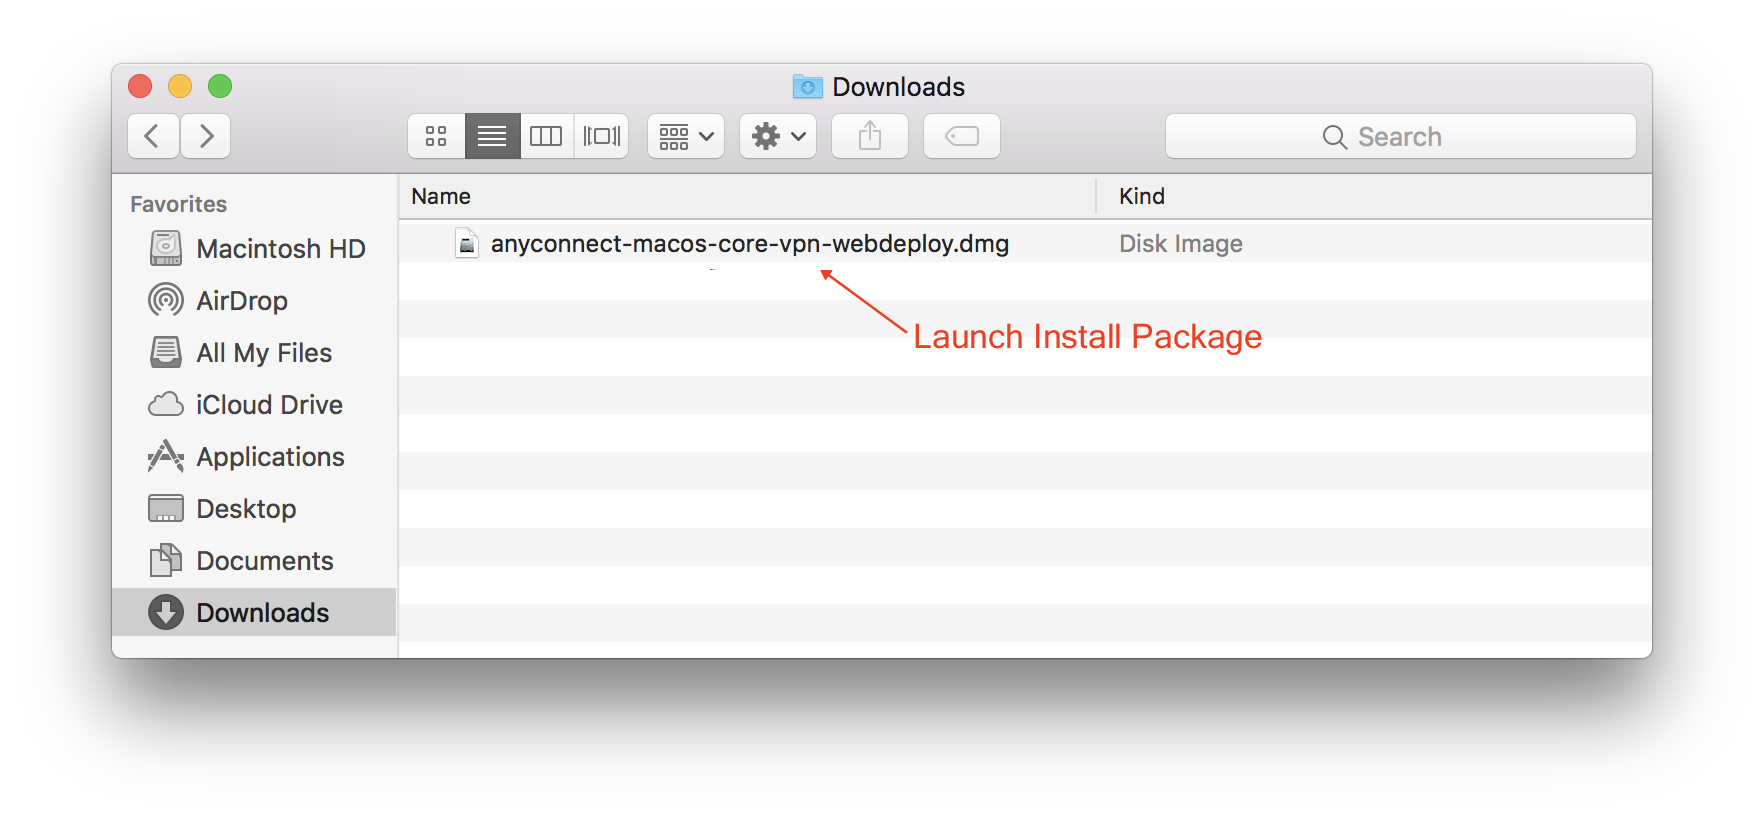
Locate and open the downloaded .dmg file.
-
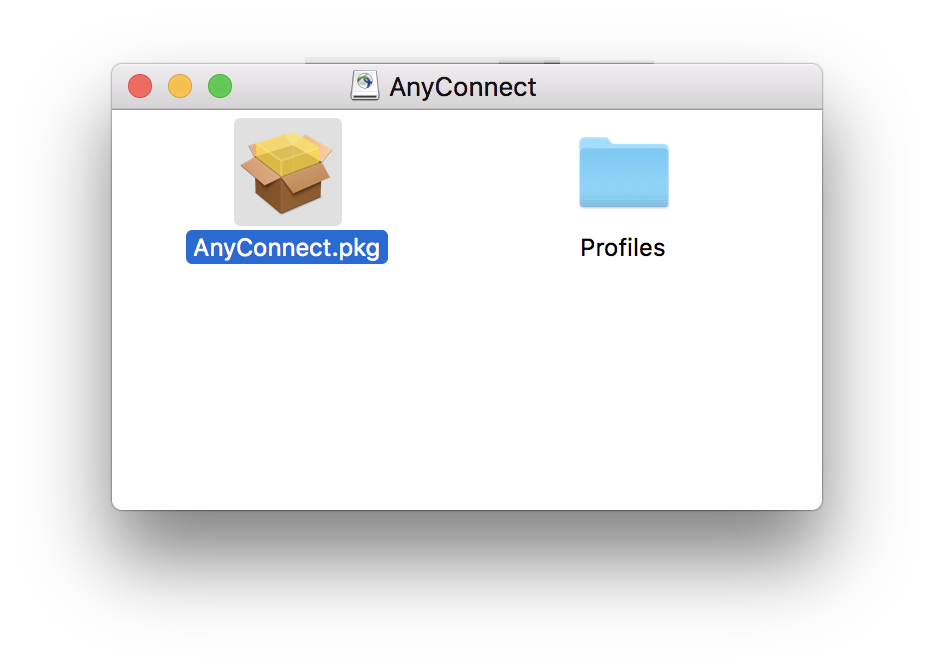
Open the mounted drive and launch the “anyconnect-macosx-XXXXXX” file.
-
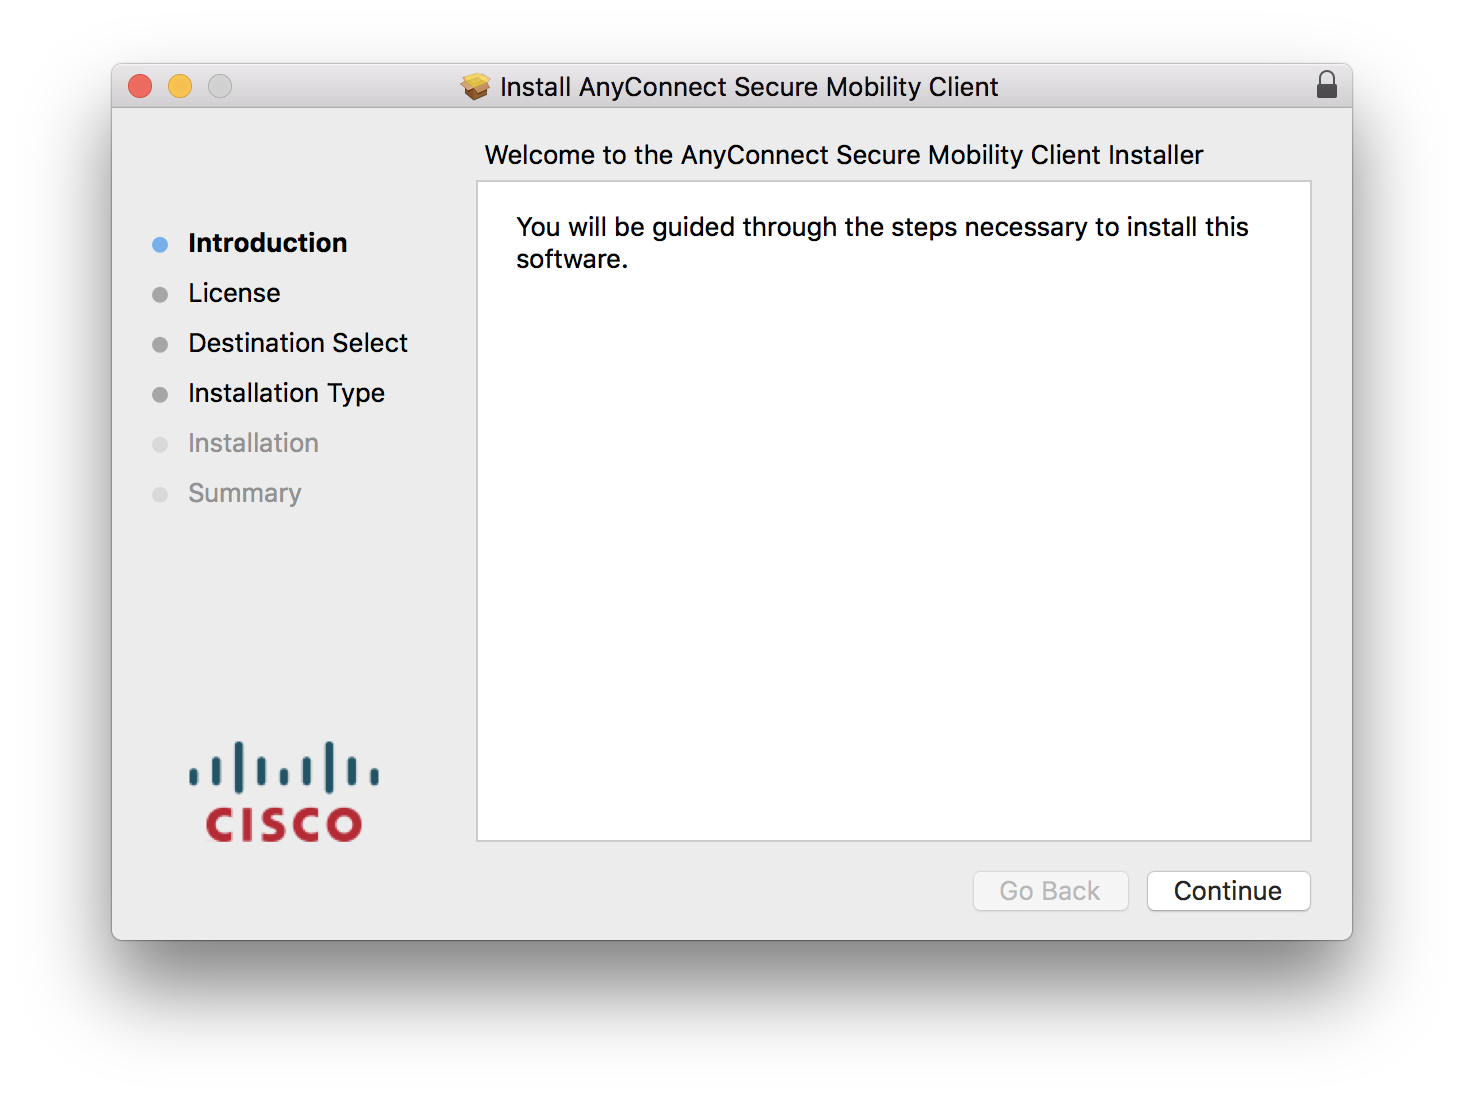
Follow the prompts as directed.
-
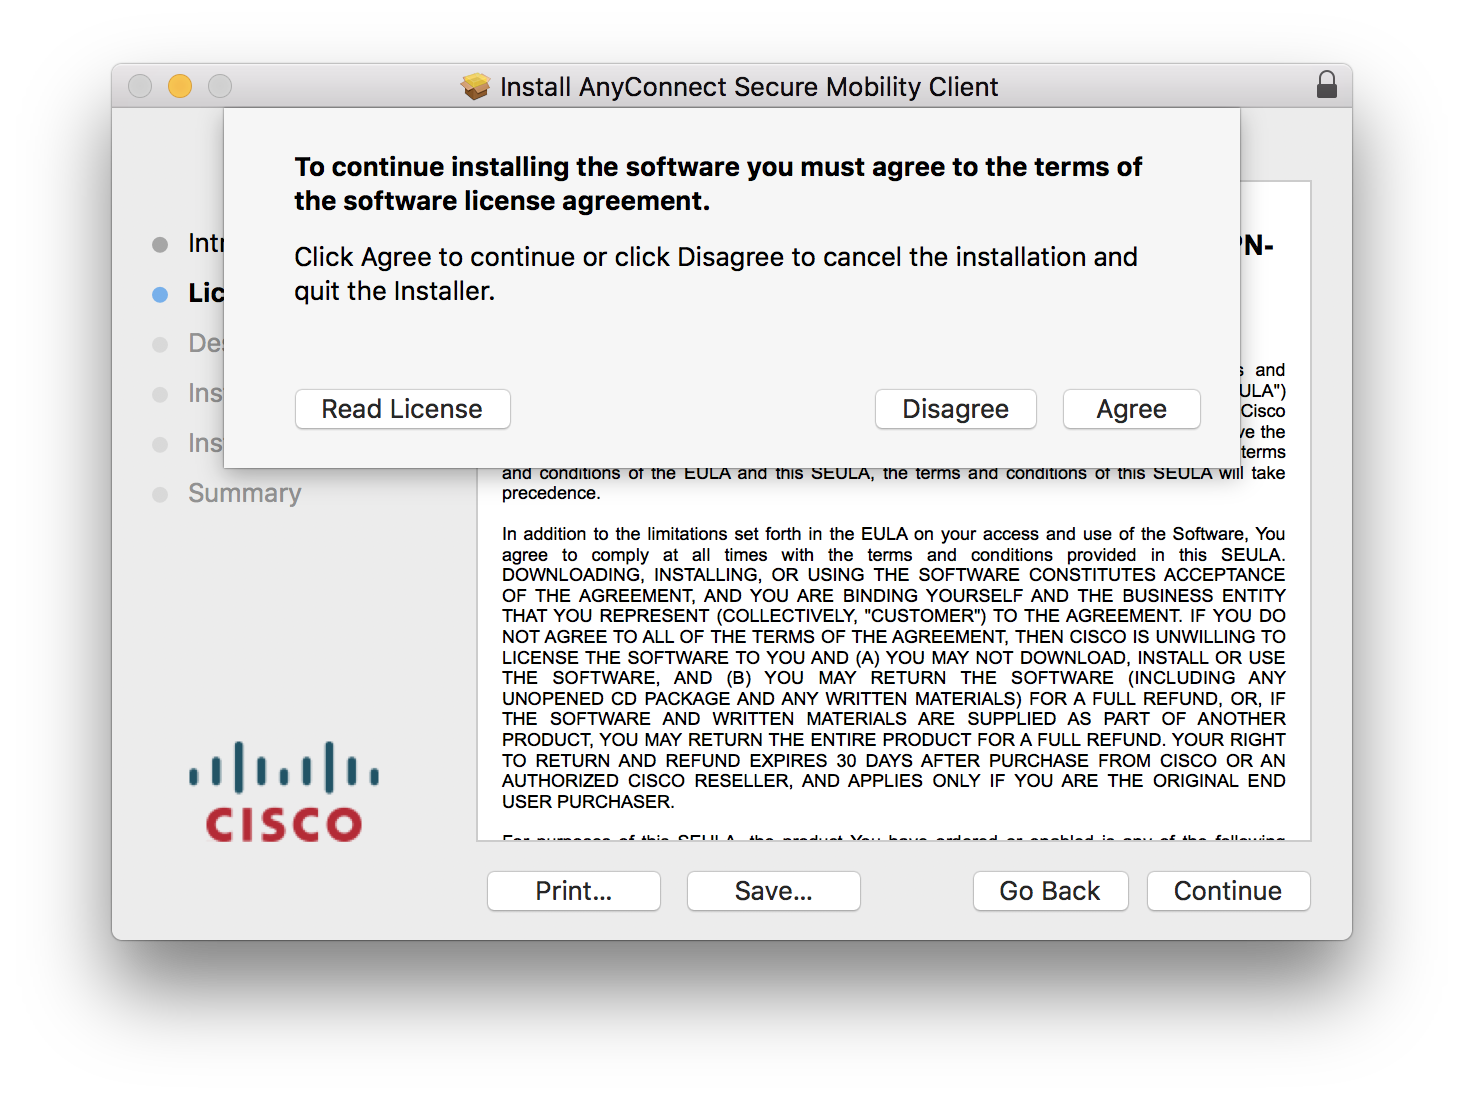
Click “Continue” and then “Agree” at the prompt.
-
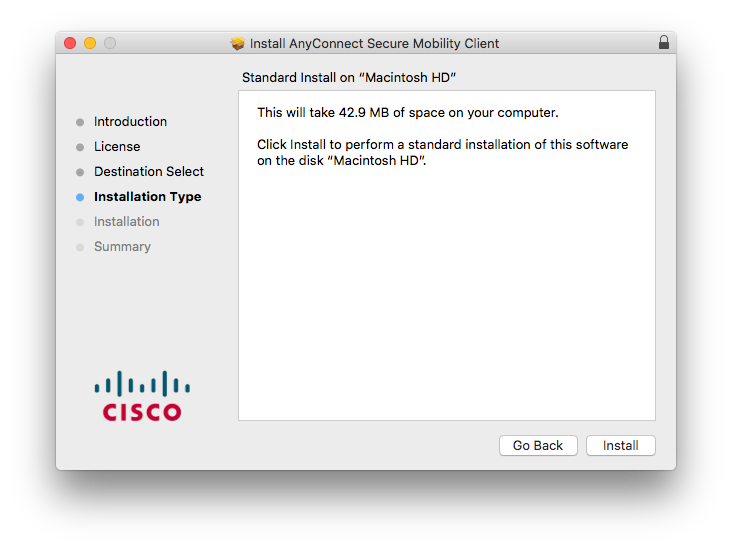
Click “Install” to begin the installation.
-
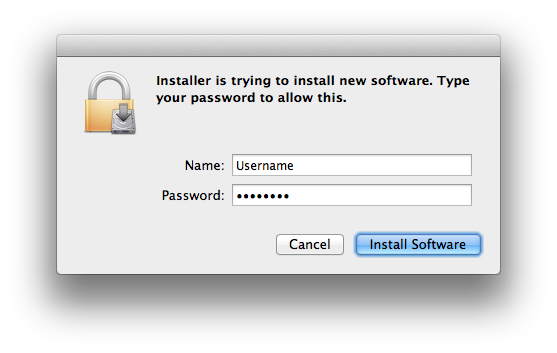
The installer requires administrative privileges, so it prompts for your credentials. Enter your Mac account password.
-
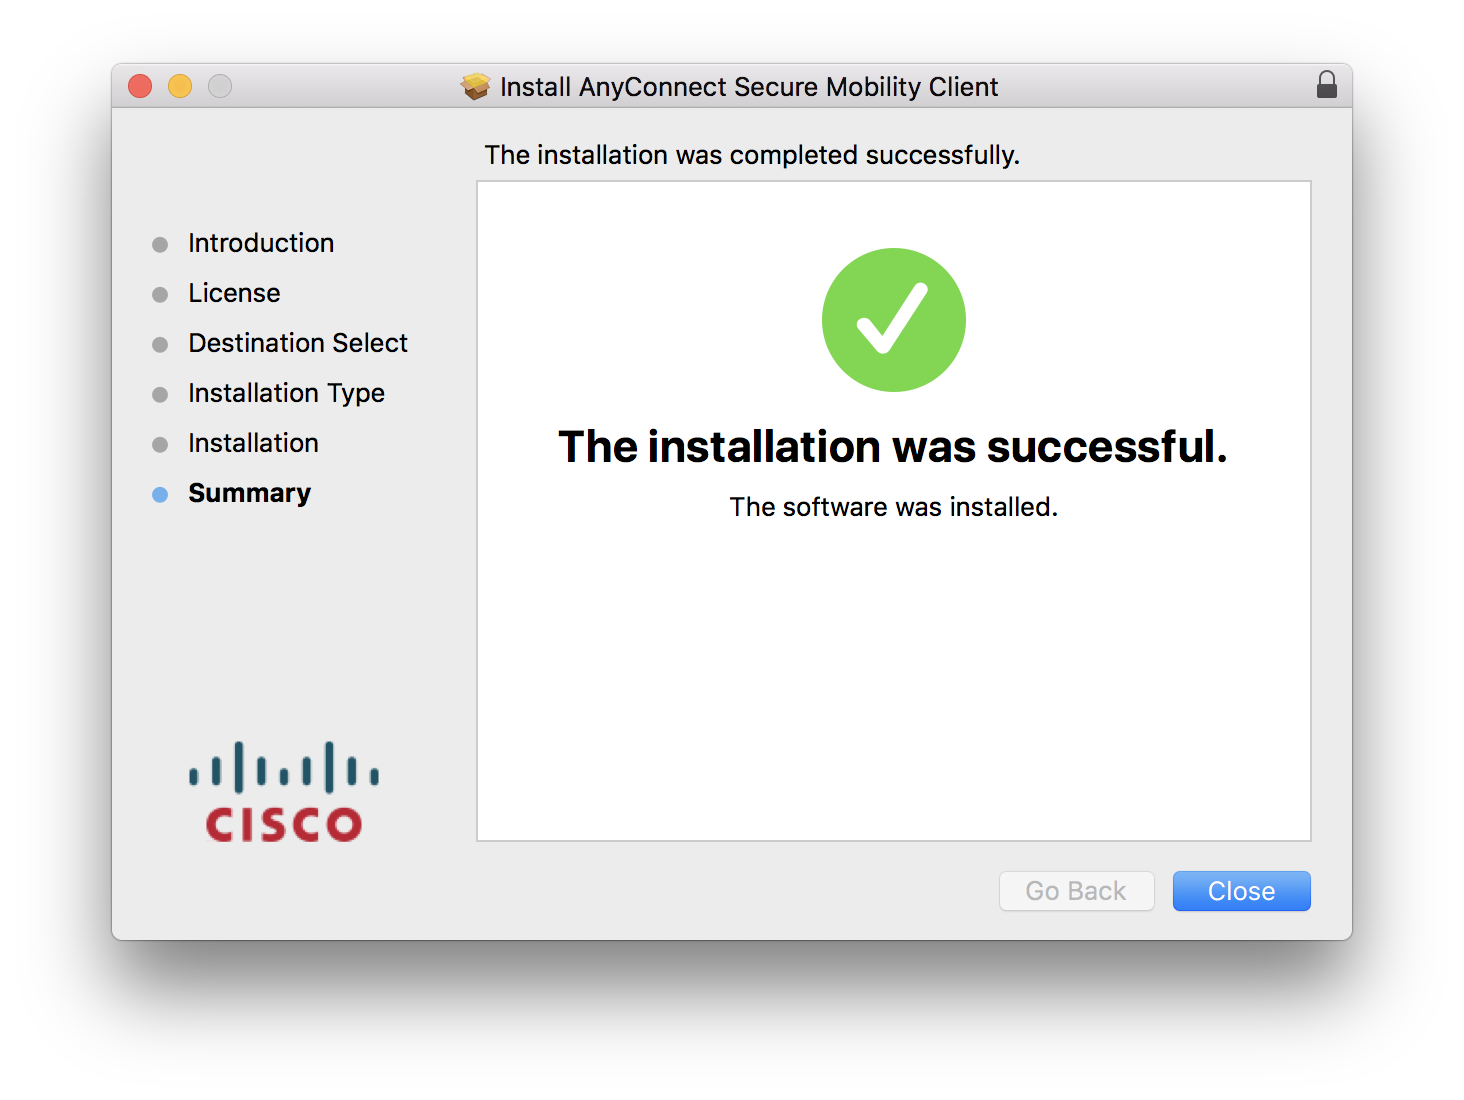
When the installation completes, Cisco AnyConnect is ready for use.
-
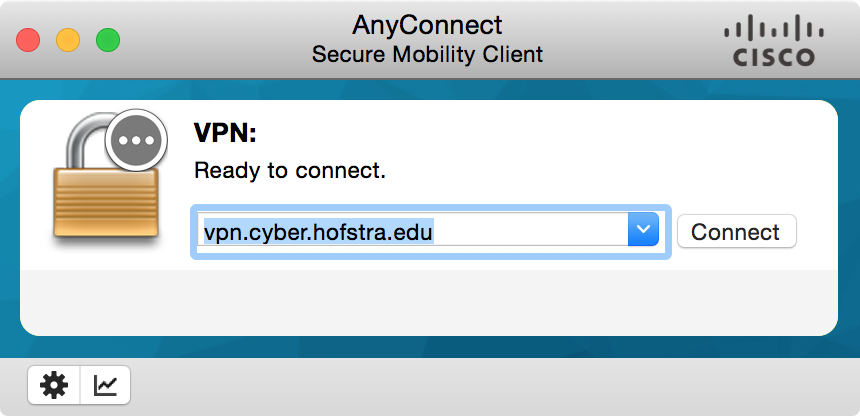
Browse to your Applications folder and open the Cisco AnyConnect client.

-
Click “Connect” to establish the VPN connection.
-
When prompted for credentials, provide the same username and pasword as before.
-
A balloon will pop-up to notify you once the connection has been established.
