OpenVPN client setup on Windows
- Download the OpenVPN client installer:
-
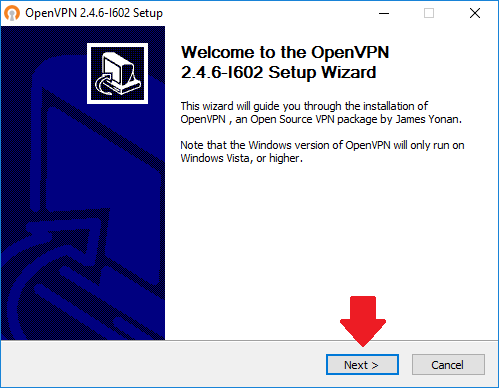
Launch the installer and follow the prompts as directed.
-
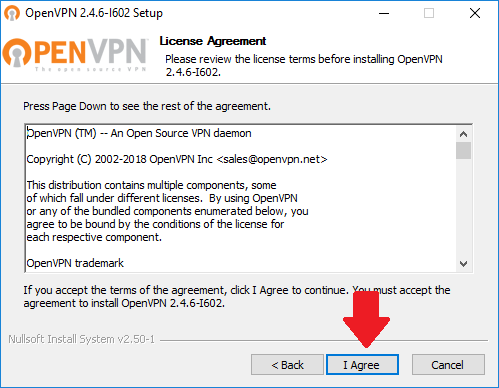
Click “I Agree” to continue.
-
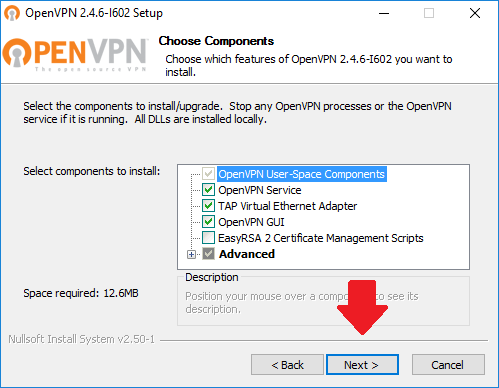
Leave the default selection of components and click “Next”.
-
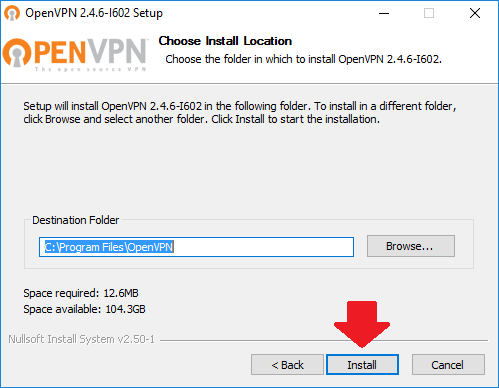
Accept the default installation path and click “Install”.
-
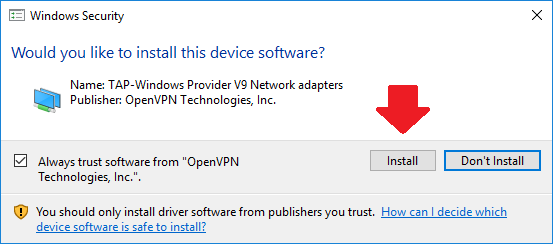
When prompted, click “Install” to allow the virtual network adapter to be setup.
-
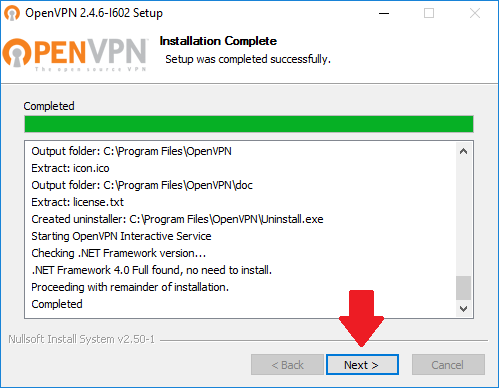
Wait for the installation to complete and click “Next”.
-
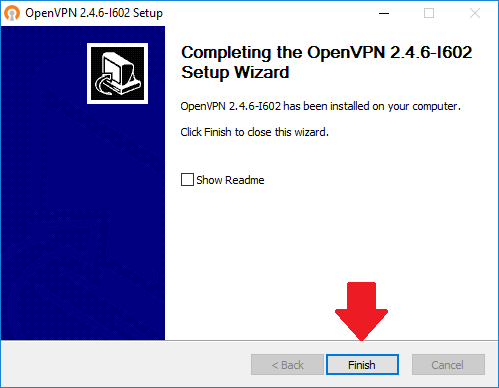
Click “Finish” to complete the wizard.
-
Before you can connect to the VPN, you must first download a client profile. Go to http://csconnect.hofstra.edu/ and enter your network credentials to download your profile. Once downloaded, extract the contents of the “.zip” file.
-
Move the “.ovpn” file into the directory C:\Program Files\OpenVPN\config

-
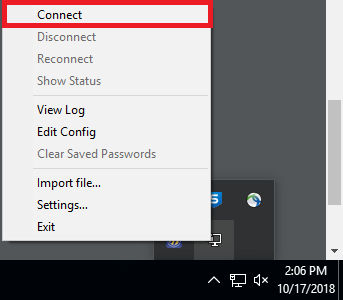
To connect connect, start OpenVPN GUI and right click the icon in the taskbar notification area. Click “Connect” from the menu.
-
When prompted for credentials, provide your portal username and pasword.
-
A balloon will pop-up to notify you once the connection has been established.
